
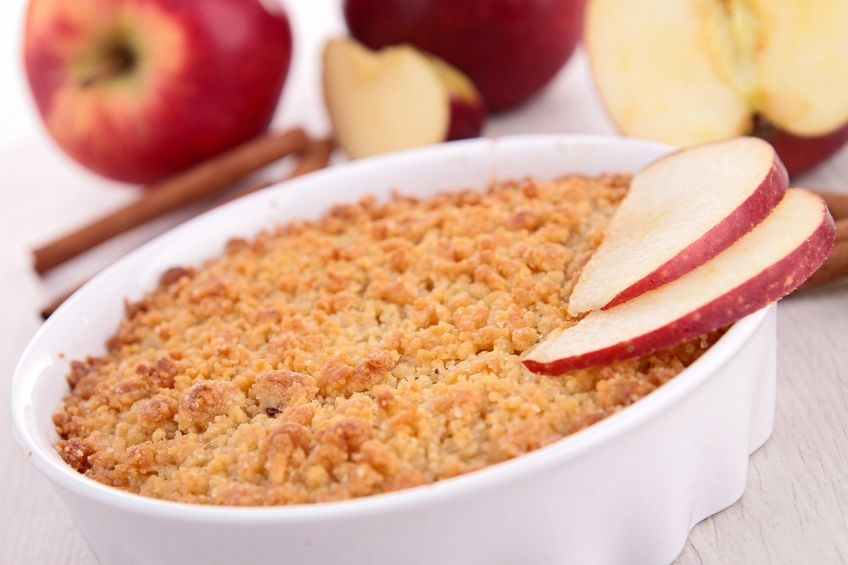
This Apple Crumble recipe is easy, delicious and healthy! It’s one of my old favourites. All dairy and gluten ingredients have been replaced with vegan and gluten free options, so it’s something everyone can enjoy.
The fresh spices are amazing too! If you can get your hands on cinnamon sticks (instead of using powder), it’s well worth the effort.
Ingredients
- 6 organic apples
- 200ml light or dark agave syrup or rice malt syrup
- 150 grams of gluten free flour
- 80 grams of coconut oil
- 1/2 tsp brown sugar (optional)
- 1 cinnamon stick
- 3-4 cloves
- 50 grams of chopped nuts and seeds (walnuts, sunflower seeds, pepitas)
- 2 tsp of organic raisins
Method
- Peel the apples. Core and roughly dice into small chunks.
- Cook the apples. Put the apple chunks into a frying pan with the agave syrup (or rice malt syrup), cinnamon stick and cloves and cover with a lid.
- Preheat the oven. 160ºC for fan forced, 180ºC without fan.
- Stew the apples. Allow to cook for half an hour, stirring occasionally with a wooden spoon. Keep checking as they can easily burn, especially in the beginning.
- Check the apples. Check that the fruit is cooked by mashing it a bit with the wooden spoon. The apples should be soft but not purée.
- Allow to cool. Put the apples into a serving dish and allow to cool. Remove the cloves and cinnamon stick.
- Make the crumble topping. Mix the gluten free flour, chopped nuts and seeds, coconut oil gently with your fingertips in a bowl until it takes on a breadcrumb consistency. If you desire a little sweetness for the topping, add the 1/2 tsp brown sugar.
- Add the crumble topping. Cover the stewed apples with the crumble topping, without pressing down.
- Cook the apple crumble. Bake for approximately 30 minutes, or until the top of the crumble begins to brown.
- Serve. Try with soy or coconut ice cream / yoghurt to balance the acidity of the apples. Enjoy!
Serves 4.
Recipe adapted from wikihow.com
Leave a Reply